Want to integrate your GC Videos into a robust and flexible email tool? Try out GC Outreach, which can directly insert GC Video stills and become clickable calls to action, then email any list directly from GiveCampus.
Looking to quickly get your GC Video out to a specific set of donor types? Using the Email Builder functionality, GC Video pages can be delivered to the inboxes of your donors and advocates.
Step 1: Create a recipient list
Before you start your email, you’ll want to generate the list of recipients for that email. Recipients can include any of the following donor or advocate types:
- One-time donors
- Recurring donors
- Match creators
- Challenge creators
- "Should be donors"
- Advocates
Use the “Manage Recipient Lists” button on the Email page to create your list. Here you can choose the type of constituent you’d like to include and then filter down to specific donor types as well as specific campaigns or giving forms.
Step 2: Build the Email
There are two ways to create an email in GC Video - from the Email page or by clicking on the “Email” button in the top navigation bar of any GC Video settings page.
When building your email, you’ll be prompted for the following information:
- Subject Line: the subject of the email that will appear in the recipients’ inbox
- Sender Name: the name that will appear in the recipients’ inbox
- Reply To Email: the email where any responses from recipients who reply to your email will go
- Custom Video Thumbnail: an optional custom image that will display in the email (if no image is uploaded, the video’s thumbnail image will be used)
- Email Body: text that will appear above the video thumbnail in the image (we recommend keeping this short and letting the video be the star of the show!)
Once you press “Continue” you’ll be prompted to select a recipient list and can use the list you built in Step 1.

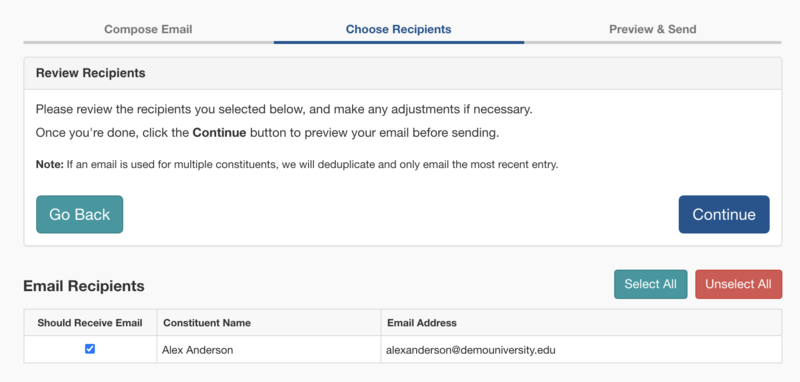
Once you’ve selected a recipient list, you’ll be able to select/unselect any individual recipients who you may want to exclude/include in receiving this email.
Step 3: Send the Email
After confirming the recipient list, you'll get one final chance to make sure everything looks as you expect. When you're ready to deliver the emails, click the "Send Email" button and each recipient will receive their own email. If an email is in the list more than once, they'll only get one email.

Comments
0 comments
Article is closed for comments.